

Showing posts with label upholstery. Show all posts

Thursday, December 17, 2020

This counts as upholstery

I was looking at the chair I have by my sewing machine and realized it's one of the upholstery projects. Even smaller than the stool, but still upholstery. It's an office chair with the back rest removed. The reason I'm not using it by my desk is that the lifting mechanism is broken and it's permanently in its lowest position.

The seat fabric was black and not too worn, but I wanted something more colorful. The first thing to do was to remove the seat by opening some screws.


Then the plastic cover underneath the chair needed to be removed. Its only purpose is to cover the wooden board inside the seat and the stapled edges of the fabric.


In this case, there was no need to sew anything into shape, just get a rectangular piece and turn its edges under the seat and staple them there. The only reason I had to sew anything was that I didn't have enough of one fabric to do this, so I had to combine two with zigzag stitches.


Here is the result. It's been a few years since I did this, and the chair still looks nice. The stitches are holding well, and I don't expect this to need a new cover any time soon. The one thing that bugs me about this is that the center fabric is not exactly in the center. The left edge is wider than the right. It really makes no difference, but I can't help noticing it. You always notice the little details that didn't go exactly the way you planned.


Monday, November 30, 2020

Smaller upholstery project

I have had this stool for 25 years or so, and considering the time, it was in a fairly good condition, but the leather was worn and I was simply bored of how it looked. So I decided to take it into pieces and replace the leather with something else.


I'm not sure what I expected to find inside, but I was still surprised by polystyrene. I should have known, really, because of how little the stool weighted. So, it was polystyrene inner structure, plastic foam for cushioning, and leather covering.


I removed everything else and started working with the polystyrene structure. I used an old carpet to cover the polystyrene, hand sewing the pieces in place. The filling of the red pillow would become the seat cushion. The green roll is the type of plastic foam you can use under your sleeping bag when you go camping, and it was going to cover the sides of the stool.


Below you can see the green foam in place around the sides. It's main purpose is to prevent dents in the polystyrene. The round piece is an old bed sheet (100% cotton) with pieces of my old jeans sewn into it. I wanted to use the jeans fabric, but I didn't want any stretching, which is why I decided to use cotton as a base for the seat covering.


The rest of the wedge shaped pieces are made of leather. I had this gold-colored leather I bought from the closing sale of a store that sold leather goods, and I had never found any use for it. I originally bought it just because I liked how it looked. I had no plans for it at the time and hadn't had in the over a decade that followed. At least now it got some use. At this point there is a seat cushion under the covering. I made it using the same cotton.


Below are the two parts of the outer layer. I used the jeans for the sides, because I liked the idea of having pockets on the side of the stool. The blue cotton part goes under the stool.


After sewing the two parts together and getting the covering over the stool, I covered the center part inside the structure with the same cotton, because part of it was going to be visible from below. It's just a piece of fabric secured in place by tying some string around it.


Here is the bottom with everything finished. The covering is pulled tight with a piece of string.


Here is the finished stool. The seat cushion seemed a bit too curved first, and I thought I might have to adjust it, but after the stool was used for some time, the filling settled and it is now slightly flatter than in this picture.


Saturday, November 28, 2020

Upholstering an armchair

I upholstered an armchair when I was 18. I had no one to ask for advice, and there was no Internet to turn to, so I had to figure it out all by myself. The result wasn't great, but it served its purpose. 

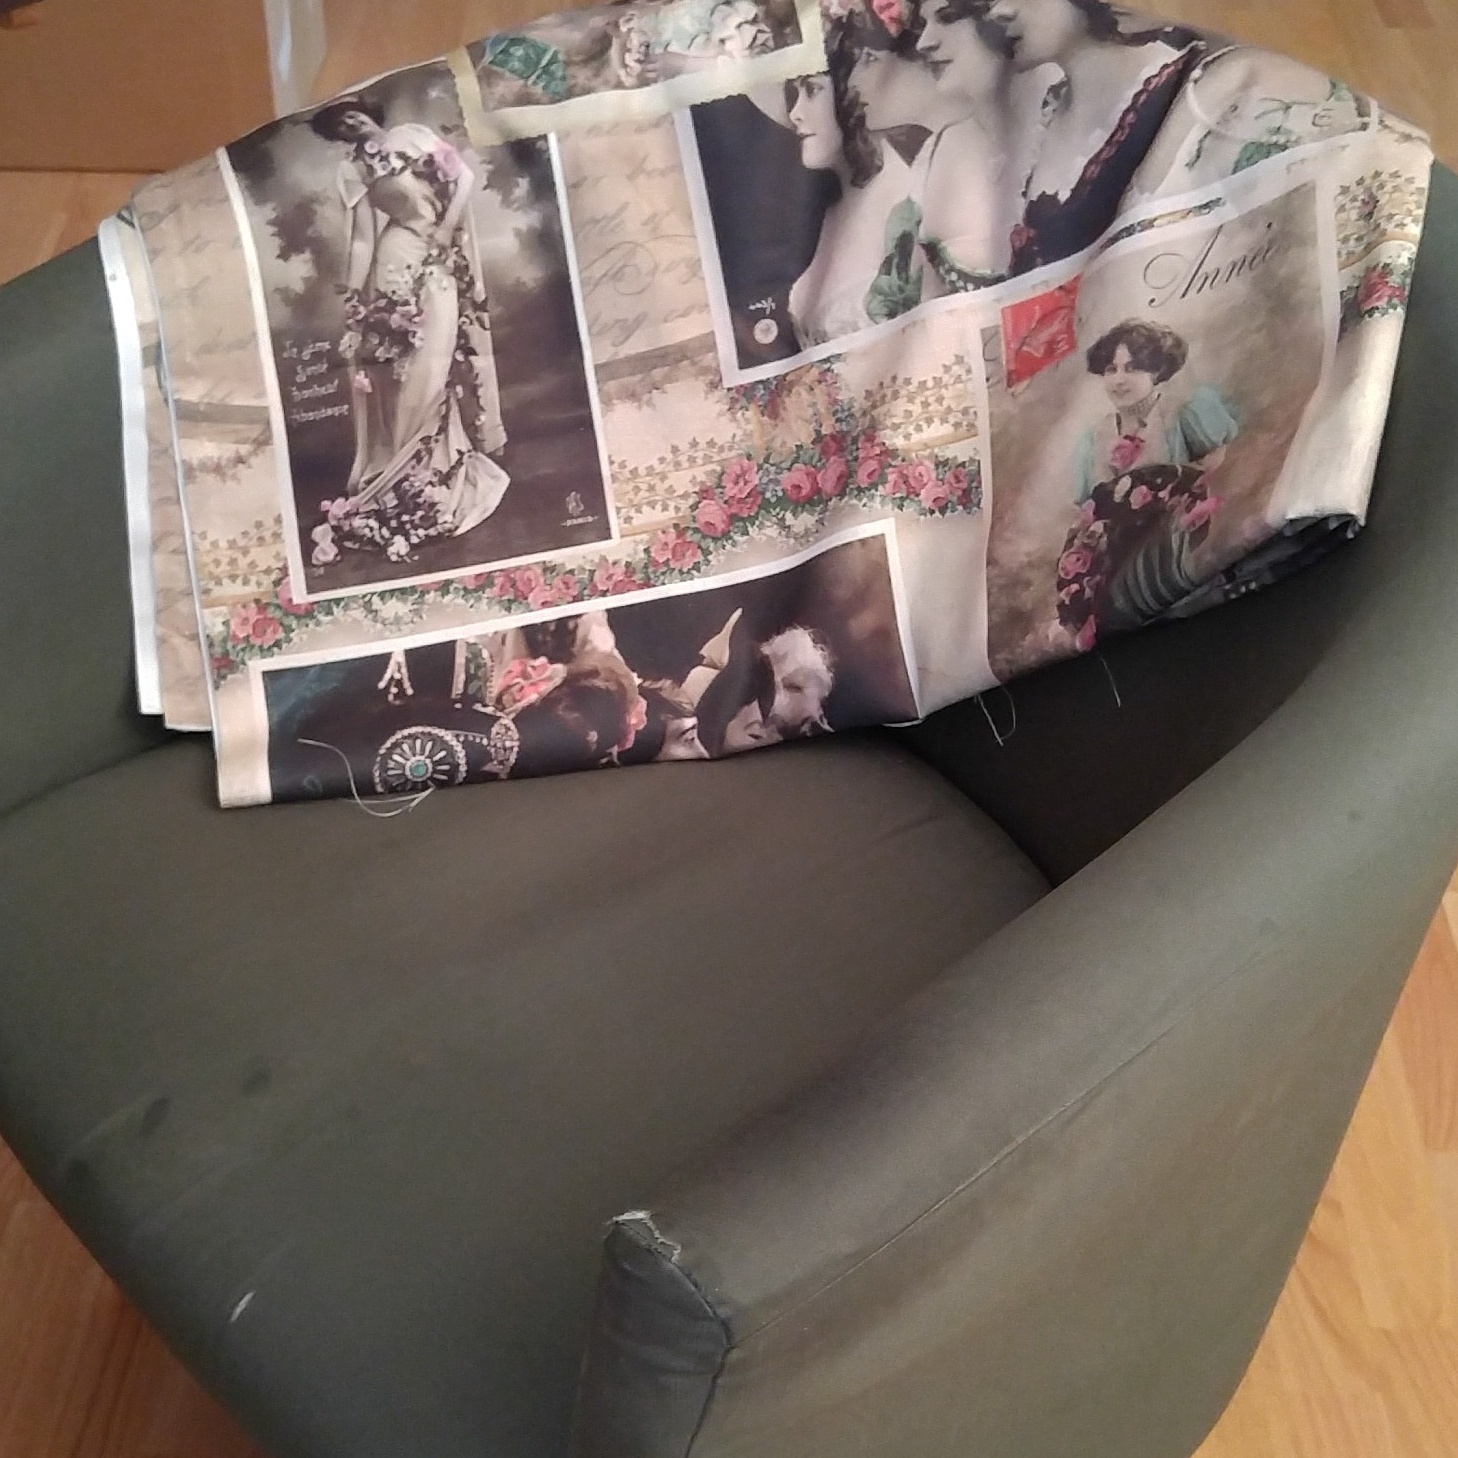
A couple of years back, I decided to try another one as its fabric was worn through in a few places and also had some grease stains. With the one I made over 30 years ago, I used black fabric, so aligning patterns wasn't an issue. With this one, I chose probably the worst possible option, but I really liked the fabric, so I decided to give it a shot.


I cut the fabric by placing it on top of the relevant part and following the seams of the existing upholstery, leaving wide seam allowances. From the beginning, the plan was to leave the original upholstery underneath and just cover it with the new fabric.


The curves of the chair made it hard to sew the fabrics together in the correct shape. I made the curved part too long and then used the narrow front pieces to tighten the fabric. At this stage, I suspected that the upholstery would remain loose in some places.


The following picture shows the structure from below. The curved black part covered the bottom of the chair, so it had to be removed. That required screwdrivers, pliers and a hammer, but I managed to remove all staples eventually.


Below is the fabric in place, the right side out, but not yet stapled to the chair. The good thing with this sort of upholstery is that you can tighten the fabric quite a bit in the stapling stage, but that presents the problem of getting an even tension to all parts of the fabric.


Here's the stapler. I don't remember why I purchased this originally as it was probably 20 years ago or so, but it was perfect for this purpose.


Below is the fabric stapled in place and with excess cut off. It did not remain loose anywhere as I was able to tighten it while stapling it in place with probably more staples than was necessary. If I ever need to remove this upholstery, I'll be regretting that.


The original cover of the seat cushion had a zipper, but I wasn't going to do that for the new cover, so I sewed the cover in place by hand. If it needs to be removed for cleaning, I'll cut the stitches and sew it back again afterwards.


Finally, here are pictures of the finished chair from different sides. I like that fabric so much. When I was cutting it, my main aim was to have the pictures as intact as possible within the panels. The curved seams and the number of panels made this difficult, but I'm fairly pleased with the result nonetheless.