Showing posts with label skirt. Show all posts

Sunday, March 13, 2022

Various projects

I have posted several videos after the last one I added here. Some of them are about taking apart leather jackets I bought from a charity shop closeout sale for very cheap. You can find them on my YouTube channel, so I'm not adding them all here, but here is the first thing I made using those jackets.


I also made something else out of leather, but this wasn't recycled leather, just some very old (some of them 20 years old) pieces.

Sunday, May 2, 2021

A lot of skirts

The task that determined our grades for the 30 skill point course from January to mid-April was to make several skirts in 1930's style for a theatrical production. We had to make the patterns based on a basic pattern and cut and sew the skirts.

We had to make at least two skirts each, but I ended up making four. The first two were basic bell-shaped skirts, one made of 8 pieces, the other of 6 pieces.

With the 8-piece skirt, the two half-patterns had to be cut into half to get four pieces. Then those were cut in half and the halves angled as shown below. So you add wedges in the middle of each of the four pieces. Finally, you cut two pieces of fabric per pattern piece to get 8 parts.


Below is the finished skirt made this way.


The 6-piece skirt is made using the same principle, except you cut the pattern pieces to 1/3 and 2/3 of the original width and place the 1/3 piece on fold.


The resulting skirt isn't that much different from the 8-piece skirt, just has two vertical seams less.


As I was watching a video about 1930's fashion in Finland, I saw some interesting ones, and the third skirt I made was different from the first two. In this case, the bell-shaped part starts about 1/3 down the skirt. Otherwise, it's an 8-piece skirt.


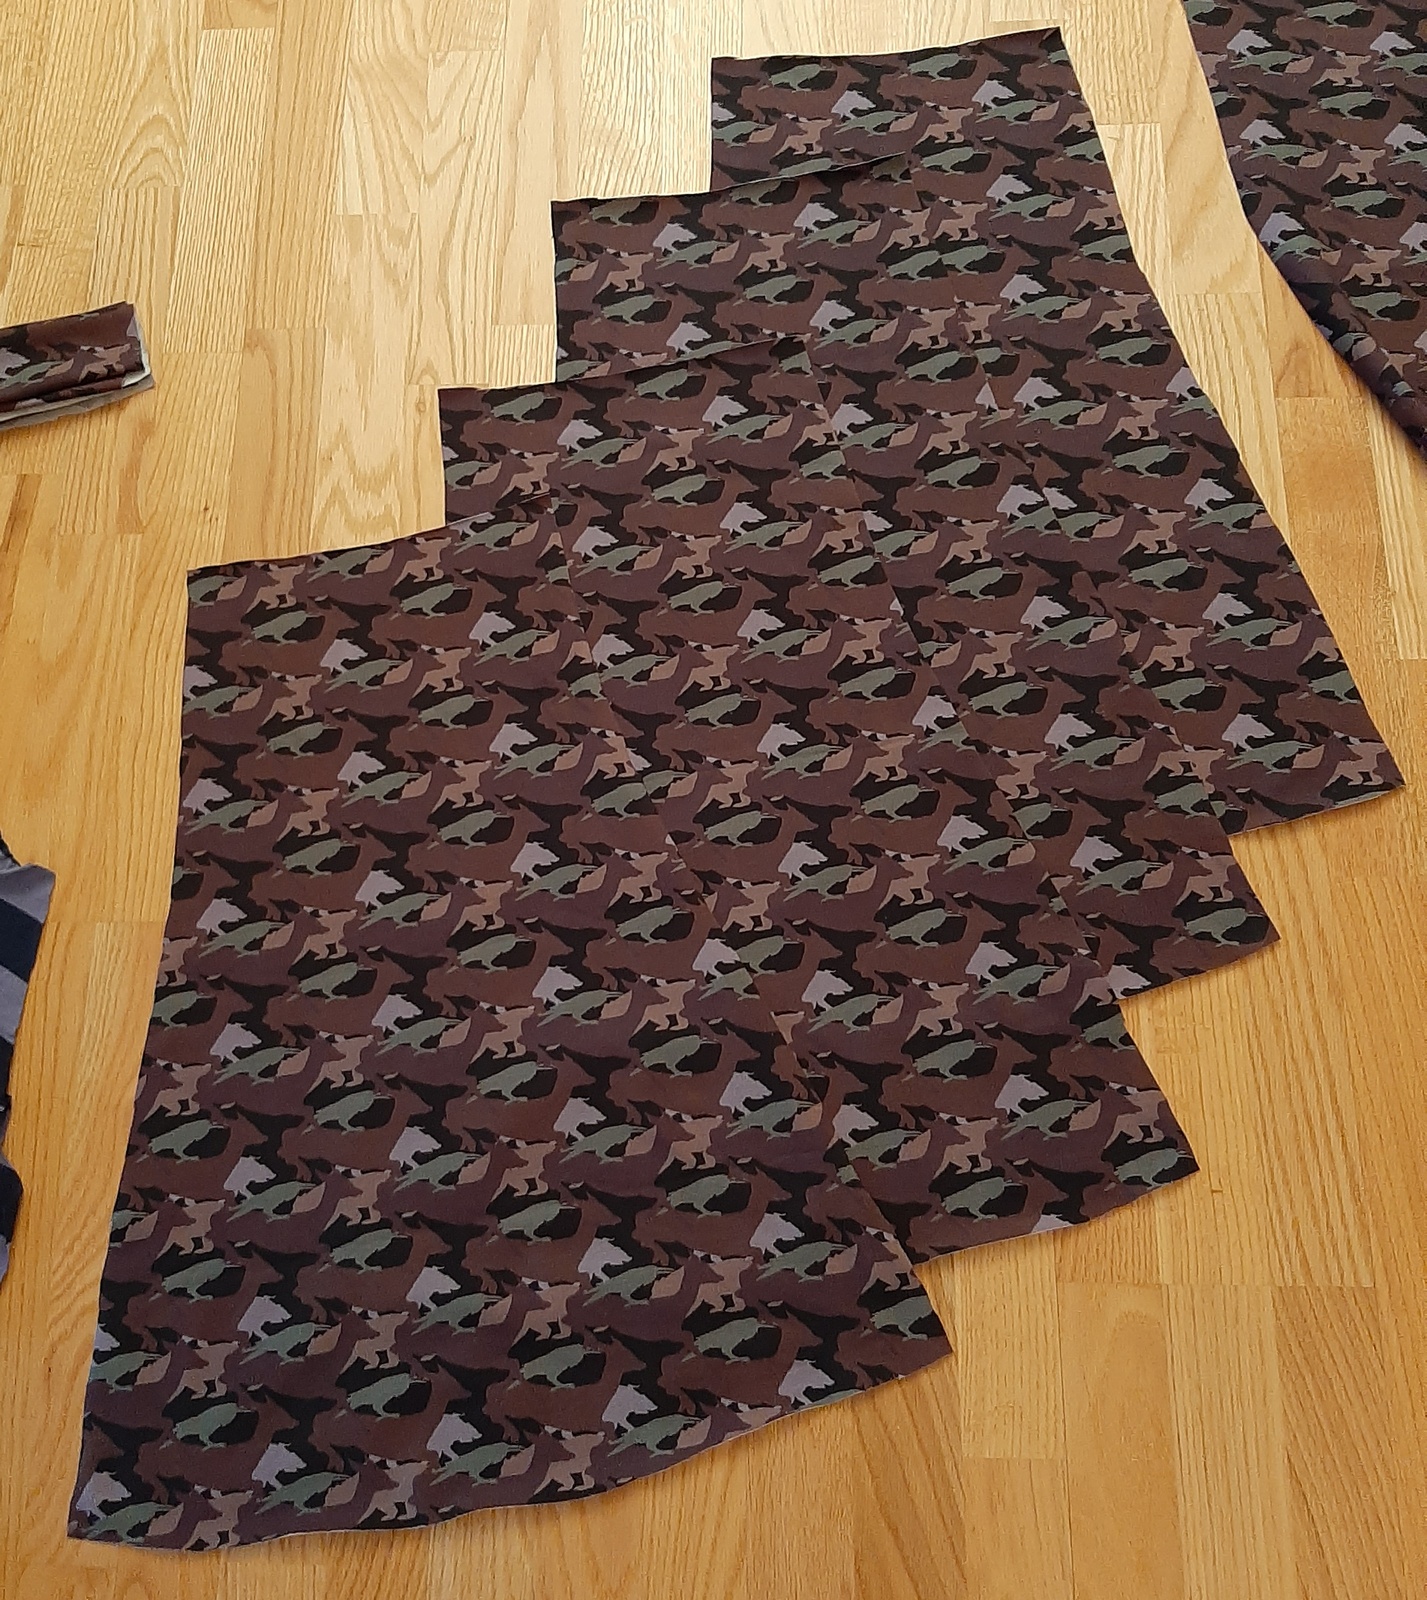
The video also showed a lot of pleated skirts. The common theme with those was that the pleats started fairly low, around mid-thigh. There were different variations of this, but I wanted to make a yoke skirt. So the fourth skirt had a yoke and wide pleats. The picture below shows the bottom part after stitching the pleats.


The skirt was size 44, so it was a bit too big for me, but I still decided to try it on. I just put it on over my jeans to get an idea of how it looks. As I was doing this, I mentioned to the teacher that "I'd wear a skirt like this," so she said "next you can make one for yourself."


I didn't have the fabric for that, so I started with the pattern as I needed size 42. After a visit to a fabric store, I was ready to make a skirt for myself. The main difference with it was the smaller size and shorter length. With legs like mine, the length in the above picture is about the worst possible, so I made a knee-length skirt for myself. All my other skirts are in fairly subdued colors (various shades of blue with a bit of white), so I chose something a bit more colorful for this one.

The weather hasn't been very nice lately, so I haven't had a chance to wear this yet, but I will as soon as it gets warmer. And the grade? I'm happy to tell that I got 5 on a scale of 1-5. I'm not that set on getting great grades, but of course it's always nice to get a good one. It's just not as important for me as it is for the young students who need good grades for applying to wherever it is they want to go later.

Tuesday, March 9, 2021

Arts in the Afternoon, part 2

I did some more resizing with the Arts in the Afternoon pattern. I really like the red/gold fabric I used for Cissy's top, but unfortunately there wasn't enough of it for a skirt, so I had to use different fabric for that. It's a pity, because the outfit looks so much better when both parts are made of the same fabric.


I used velcro closing for everything else, but Cissy skirt has a proper zipper. I had a 4 cm zipper, which I sewed in place in the same way as we did in one of the exercises a couple of weeks ago.

I also made a dress for Miss Piggy. In this one, I used a pattern from Rosemary Ionker's book "Fashion Doll Clothing." The pattern is the skirt on page 85. I resized it to fit Piggy and then made the bodice pattern myself. In the book, the doll has a skirt and jacket, but I wanted this to be a dress, and it wasn't that hard to make a bodice of this type. The necklace is a cheap bracelet that's long enough to fit Piggy. The other 14"-16" dolls have so much smaller neck that using their jewelry on Piggy just isn't possible.


Wednesday, March 3, 2021

Arts in the Afternoon

I'm currently much more comfortable with clothes patterns than before, so I had no trouble resizing a simple Barbie pattern to fit a Living Dead Doll. The outfit is "Arts in the Afternoon" from Mari DeWitt's book "Vintage Clothing for the Fashion Doll."

First, here is the outfit as shown in the book. I have made this for Barbie, and as it is a fairly simple design, I wanted to try it in a different size.


Here is the original pattern in the book and the reduced pattern for the Living Dead Doll.


Here are the pieces about halfway through the process. I'm not going through the process here, because of copyright issues, but you can see for yourself how this is done.


And here is the other side of the same piece. The lining is attached to the outer part, which makes sewing a lot easier. Of course you could just as well make this without a lining, which is what I usually do just to keep the seams thinner.


After this, you just sew the side seams and attach a closing mechanism, in this case pieces of velcro, and the top is finished. I made the skirt out of a rectangular piece of fabric, which I put around the doll to see where and how many darts were needed. The skirt is also lined using the same fabric as in the picture above.


Saturday, February 27, 2021

Last couple of weeks

The only finished item for the last couple of weeks is a skirt. It took ages and I was starting to feel quite desperate with all the alterations that had to be made to make it fit the customer (another student for whom I was making it). However, I managed to finish it and it looks nice, although I can't stop thinking of all the things that went wrong with it and had to be fixed.


I think the best thing I learned with this was how to sew a zipper that's totally hidden when it's closed. It took a couple of tries, but the result looks nice.


We also learned another way to sew a zipper for a skirt. This one was done on a piece of fabric as it was just an exercise. I used the skirt fabric as I was doing this before starting to sew the skirt and wanted to practice a bit with the fabric as the teachers said it wouldn't be the easiest fabric to sew. They were right, it was slippery and difficult to keep in check in addition to being really resistant to ironing (just couldn't get it flat no matter how hard I tried).


The next project will be a vest, which I'll be making for myself based on one I've had for 10 years or so. However, next week is the spring break and on week 10 we won't be going to school because of the new restrictions laid out this week. There haven't been any cases in our school in several weeks, so I think the measures we've had in place would have been enough, but obviously people in charge think otherwise.

So, after the break it'll be some theory on textile materials, plus sewing some pockets for the vest. And of course I've got my private projects, the current one being one in which I'm using the bunny picture from the previous post. I'll be posting about that once it's ready.

On a final note, Lidl again had one of the sewing thread sets I really like. The thread isn't the best quality, but it works for doll clothes at least. The reason I like it so much is that you get a good selection of colors, and every color also comes in spools, so you don't need to do that yourself. I think it's a good deal for 6.99€.


Sunday, December 13, 2020

Skirt made of the camo fabric

I bought 2 meters of the fabric, so there was more than enough to make a skirt in addition to the shirt. I used an existing skirt (photo below) for making the pattern, but this time the original item remained intact as it is in excellent condition and I'm still using it.


I used fabric from the repurposed duvet cover to make the pattern. The new skirt consists of four of these panels.


Here are the four panels for the skirt. Again, I aligned the colors vertically.


The first thing to sew were the vertical seams. Here three of the four have been sewn. I used the stitch number 15 for these (see the chart in the earlier post). The next stages were the final vertical seam and the waist band. I folded the fabric at the waist and left room for a rubber band. The original skirt also has a rubber band on the waist, although I used a narrower one for this. I used stitch number 12 for the waist.


The final piece was the hem for which I used stitch number 11, which shows very little on the outside. It requires this special foot to keep the fold of the fabric in the correct position so that only every fifth zigzag stitch catches the fold.


Here is the finished skirt. In this case I was wearing the shirt I made earlier, but I'm not planning to use these together regularly. 


Now I know the pattern is fine, so I can use it later for making another skirt once I find fabric I like. That's really one of the main problems with buying skirts, either the design is for people half my age or the pattern is what the manufacturers assume middle aged women want to wear. The skirt in the first photo in this post is the latter, but in this case I like the design and pattern. The other knee length skirt I have bought is all black and I haven't used it, I bought it just in case I happen to need a black skirt. The rest are dresses as for some reason, dresses seem to come in much nicer colors and patterns. But they all have floral patterns, so the skirts I'm going to make will have something else.