


I upholstered an armchair when I was 18. I had no one to ask for advice, and there was no Internet to turn to, so I had to figure it out all by myself. The result wasn't great, but it served its purpose.
A couple of years back, I decided to try another one as its fabric was worn through in a few places and also had some grease stains. With the one I made over 30 years ago, I used black fabric, so aligning patterns wasn't an issue. With this one, I chose probably the worst possible option, but I really liked the fabric, so I decided to give it a shot.
I cut the fabric by placing it on top of the relevant part and following the seams of the existing upholstery, leaving wide seam allowances. From the beginning, the plan was to leave the original upholstery underneath and just cover it with the new fabric.

The curves of the chair made it hard to sew the fabrics together in the correct shape. I made the curved part too long and then used the narrow front pieces to tighten the fabric. At this stage, I suspected that the upholstery would remain loose in some places.

The following picture shows the structure from below. The curved black part covered the bottom of the chair, so it had to be removed. That required screwdrivers, pliers and a hammer, but I managed to remove all staples eventually.

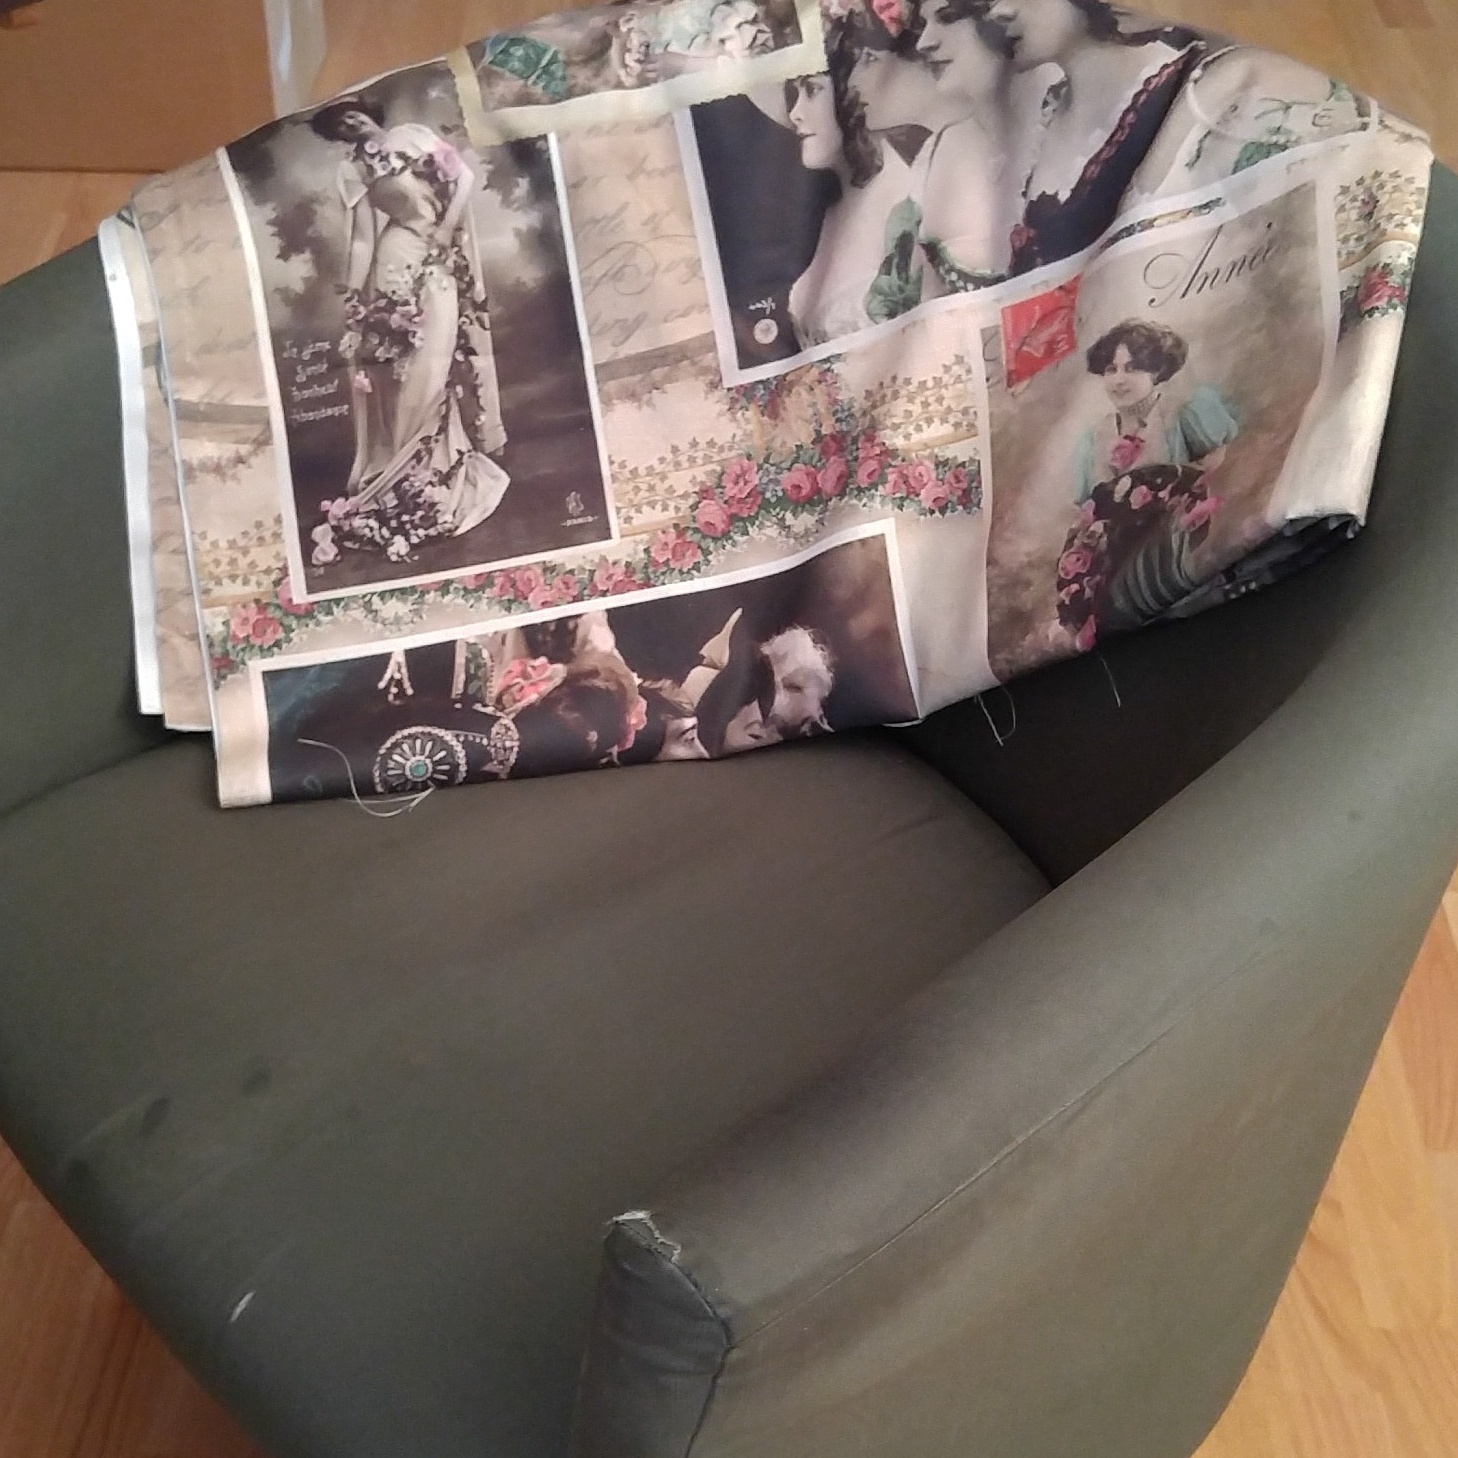
Below is the fabric in place, the right side out, but not yet stapled to the chair. The good thing with this sort of upholstery is that you can tighten the fabric quite a bit in the stapling stage, but that presents the problem of getting an even tension to all parts of the fabric.

Here's the stapler. I don't remember why I purchased this originally as it was probably 20 years ago or so, but it was perfect for this purpose.

Below is the fabric stapled in place and with excess cut off. It did not remain loose anywhere as I was able to tighten it while stapling it in place with probably more staples than was necessary. If I ever need to remove this upholstery, I'll be regretting that.


The original cover of the seat cushion had a zipper, but I wasn't going to do that for the new cover, so I sewed the cover in place by hand. If it needs to be removed for cleaning, I'll cut the stitches and sew it back again afterwards.

Finally, here are pictures of the finished chair from different sides. I like that fabric so much. When I was cutting it, my main aim was to have the pictures as intact as possible within the panels. The curved seams and the number of panels made this difficult, but I'm fairly pleased with the result nonetheless.


No comments:
Post a Comment